| Step 1 |
|
|
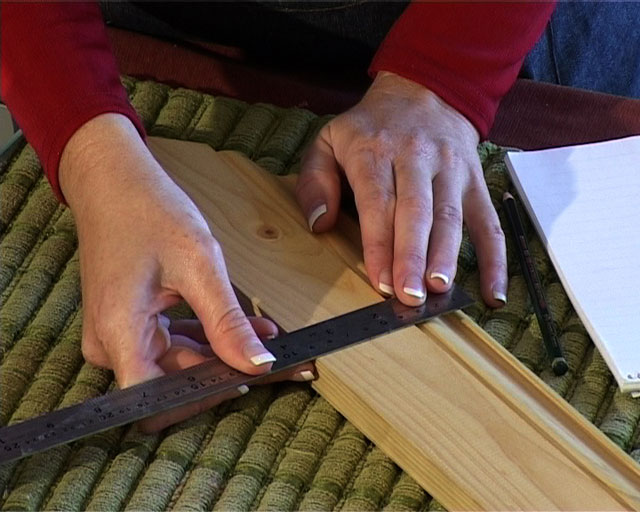
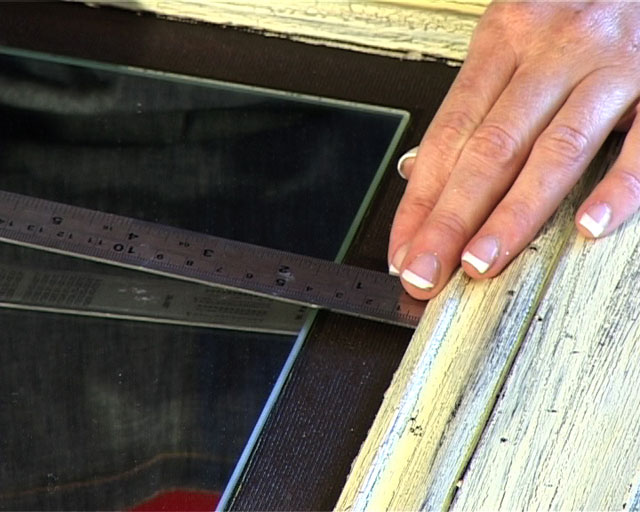
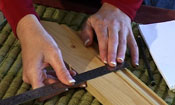
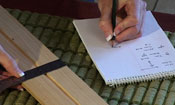
Measure the width of the skirting (e.g. 9 cm).
|
|
|
| |
|
|
| Step 2 |
|
|
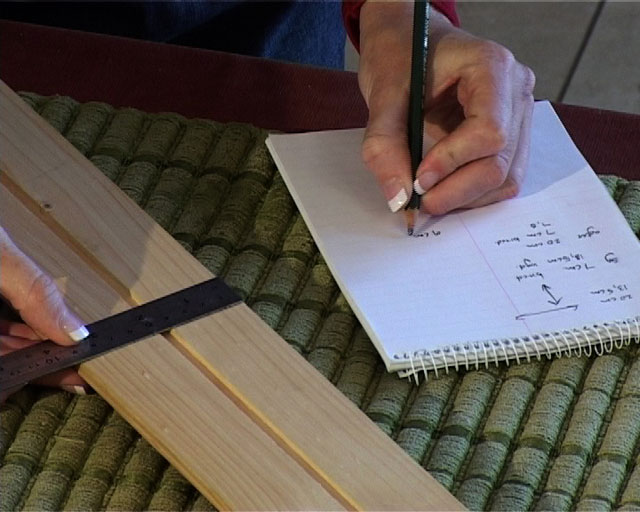
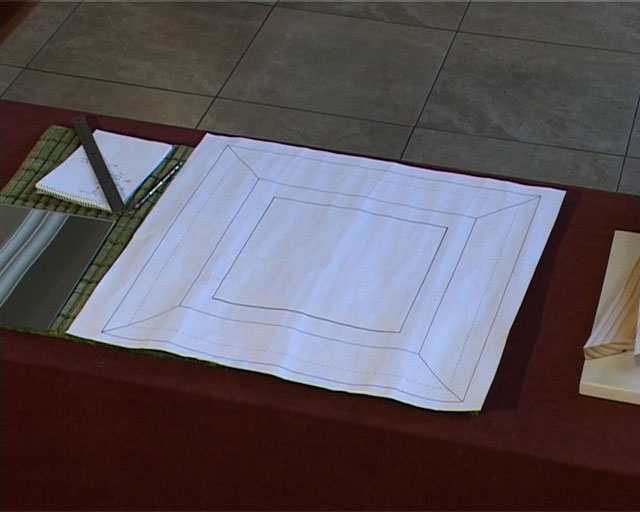
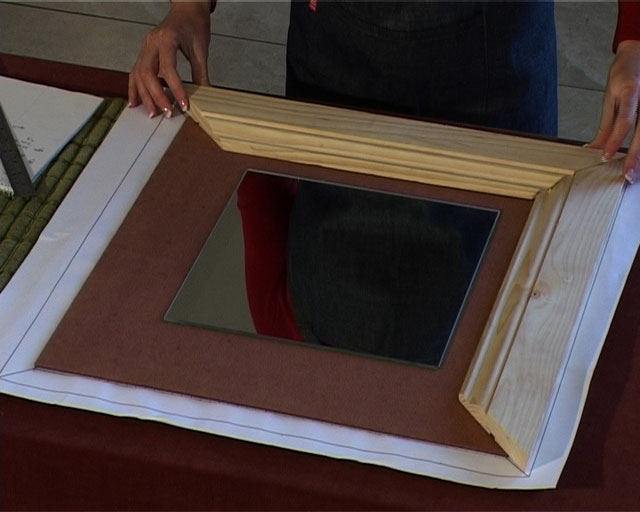
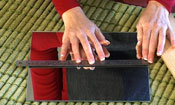
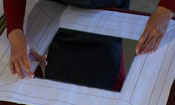
Use the measurements of the skirting and mirror and make a planning sketch to determine the measurements of the four sides of the frame.
- Frame = 9 cm width x 56 cm cut long against 45 gradient corner (make the outside measurement of the frame = 56 cm x 56 cm)
- Background board = 50 cm x 50 cm
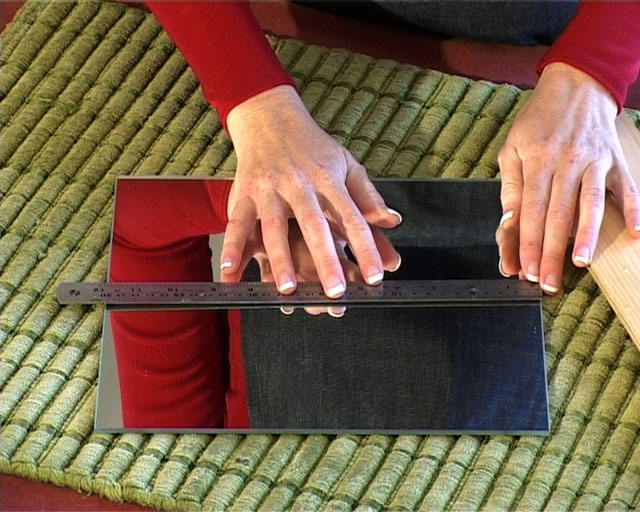
- Mirror = 30 cm x 30 cm
- Polymer clay tile border between mirror and frame = 4 cm wide
|
|
|
| |
|
|
| Step 3 |
|
|
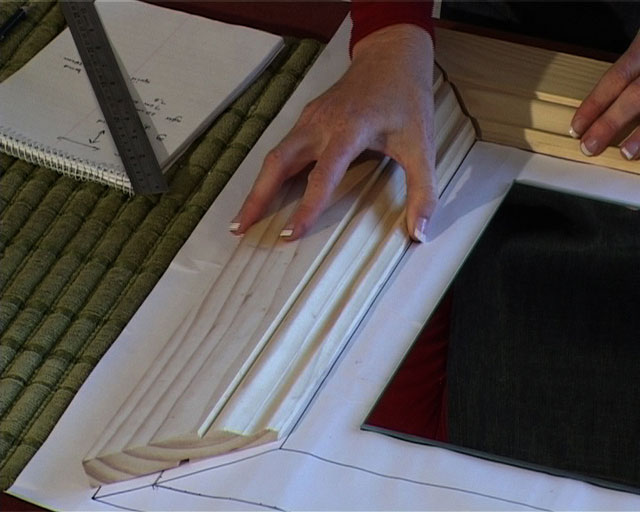
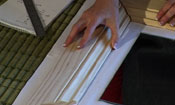
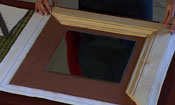
Cut 4 sides out of the skirting for the frame. You can go to a hardware store and ask them to cut it according to the planning sketch. If you have the tools you can do it yourself, cut (4 x 56 cm pieces with each short side at a gradient of 45 degrees). |
|
|
| |
|
|
| Step 4 |
|
|
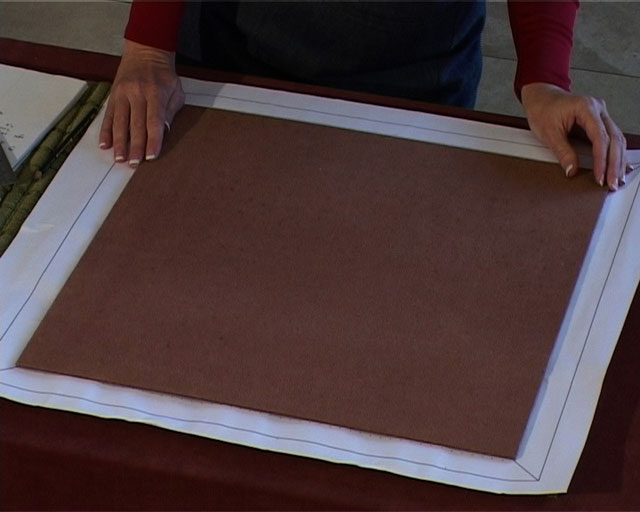
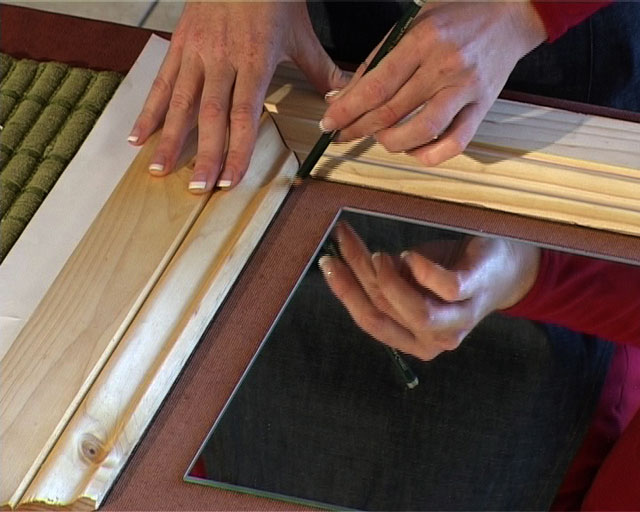
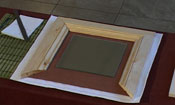
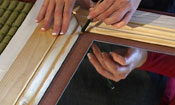
Mark the position of the frame on the background board.
|
|
|
| |
|
|
| Step 5 |
|
|
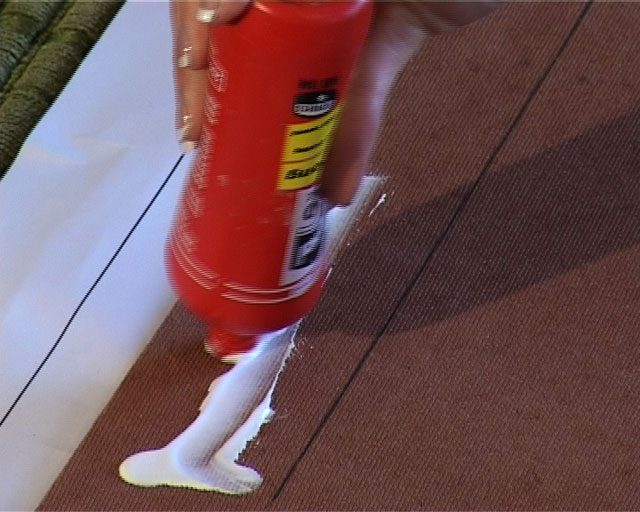
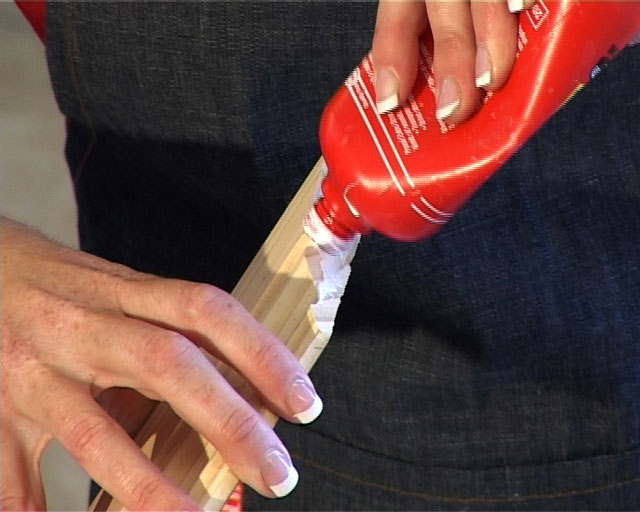
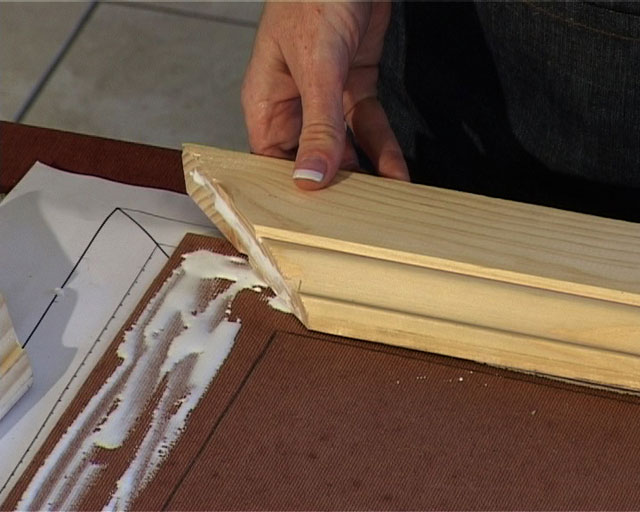
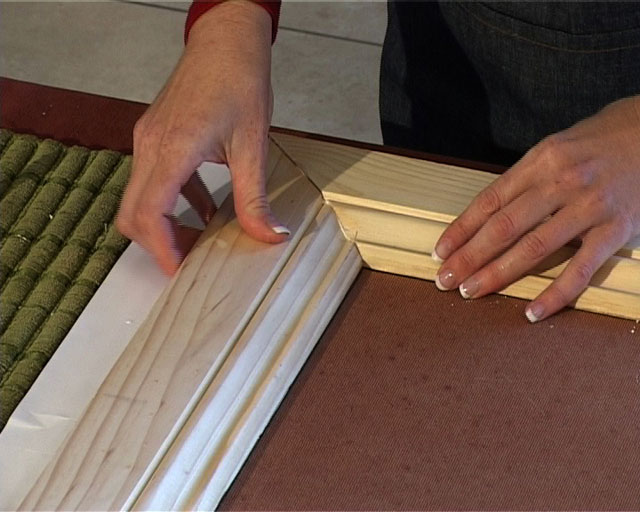
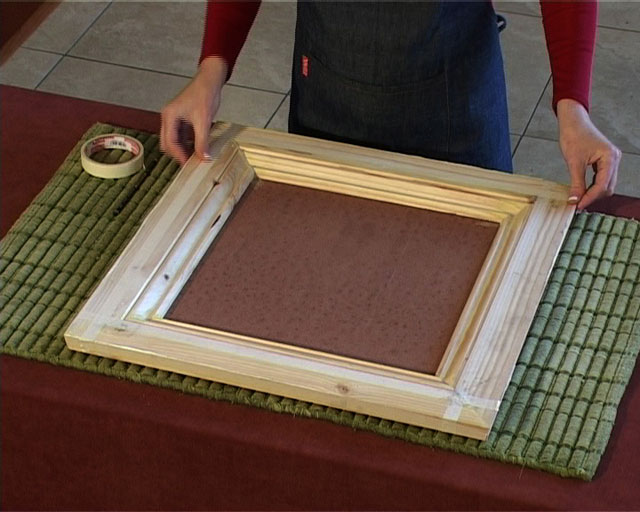
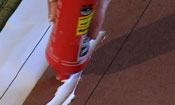
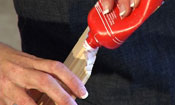
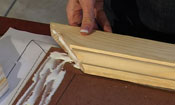
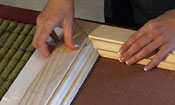
Assemble the frame by placing the four sides on the background board and glue them. Also glue the four corners of the frame together. Make sure that everything is straight and square.
|
|
|
| |
|
|
| Step 6 |
|
|
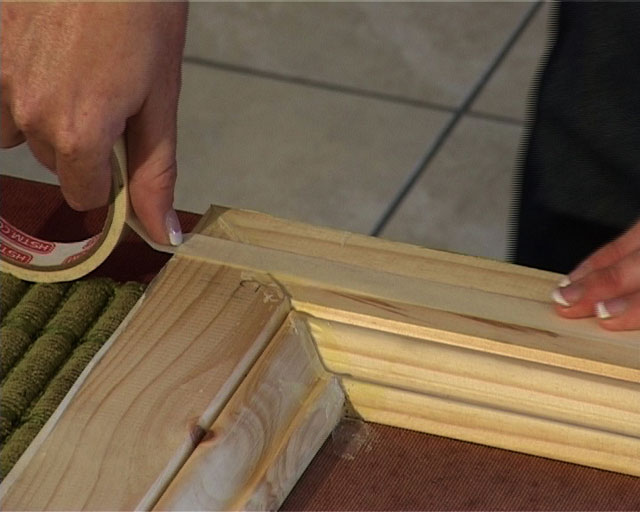
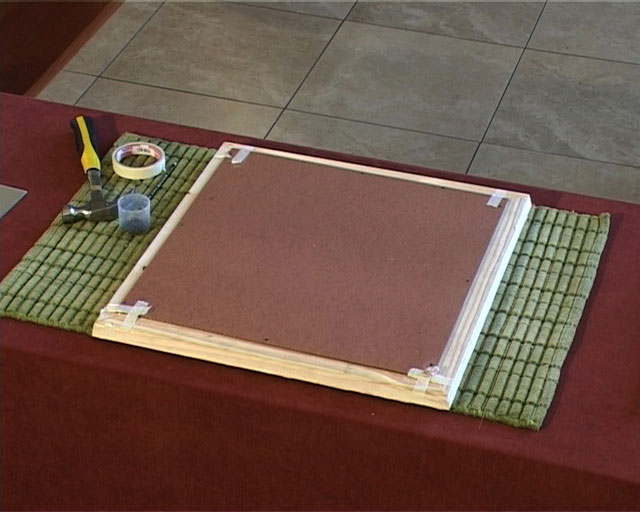
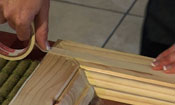
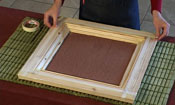
Use the masking tape to fasten the corners in order to keep everything in line till the glue has dried thoroughly.
|
|
|
| |
|
|
| Step 7 |
|
|
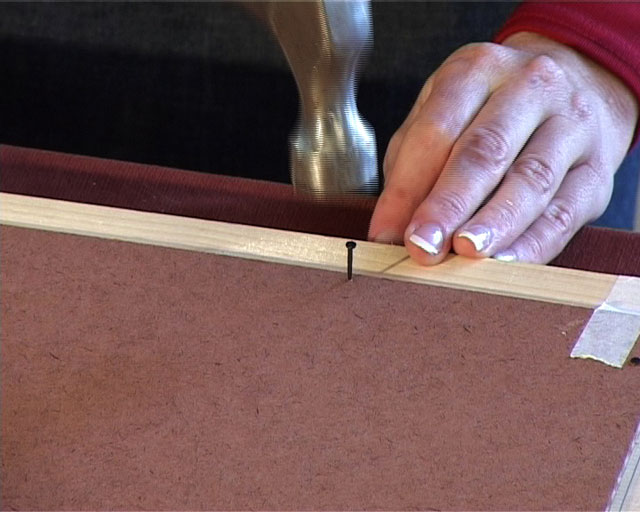
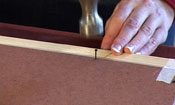
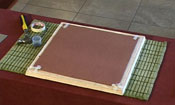
Turn the frame around and place 12 small nails in position around the frame to fasten it to the board. |
|
|
| |
|
|
| Step 8 |
|
|
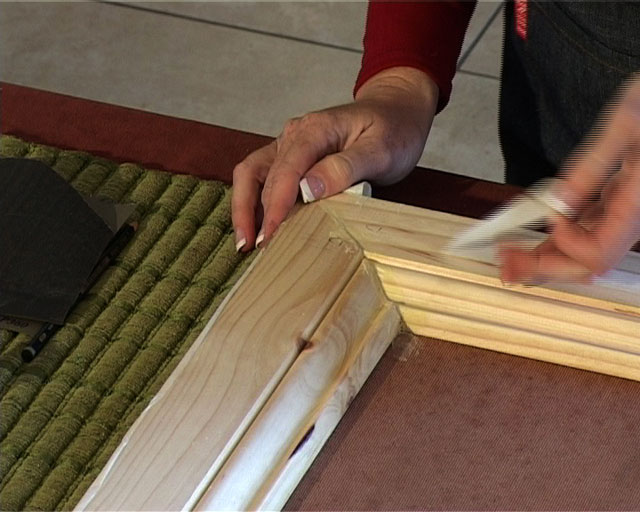
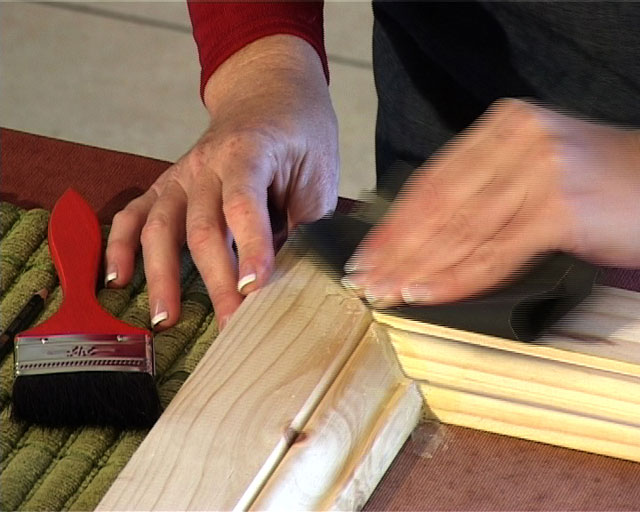
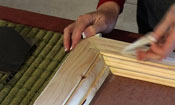
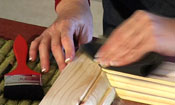
Sand the wood good and remove any excess glue that might be present.
|
|
|
| |
|
|
| Step 9 |
|
|
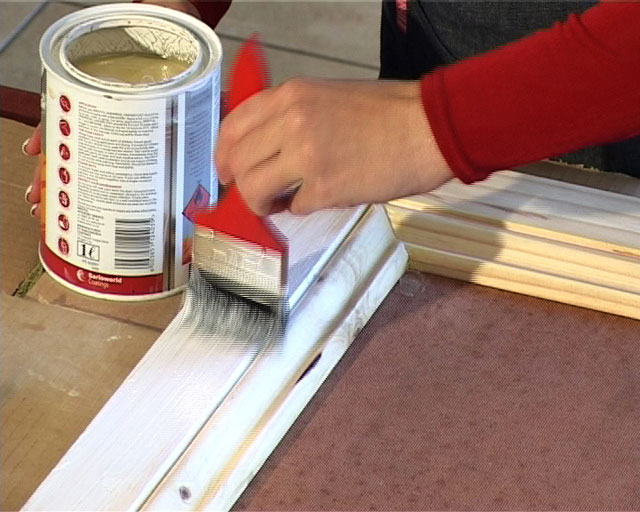
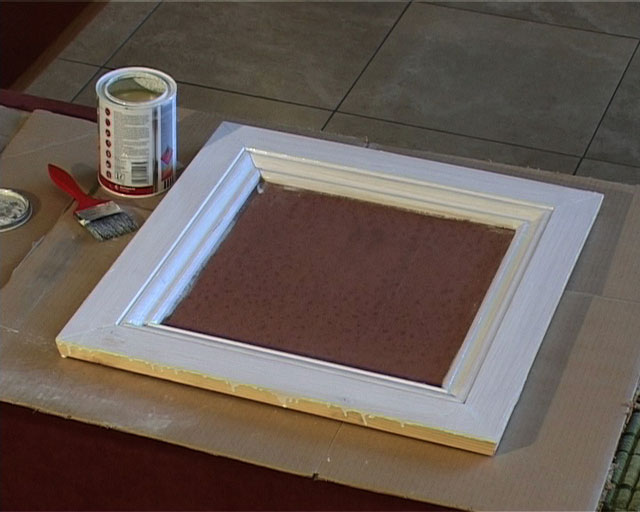
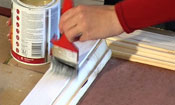
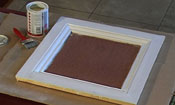
Apply two layers of undercoat paint onto the frame.
|
|
|
| |
|
|
| Step 10 |
|
|
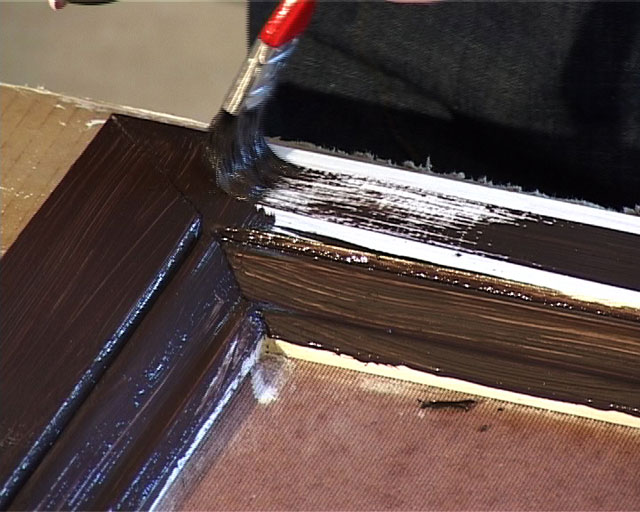
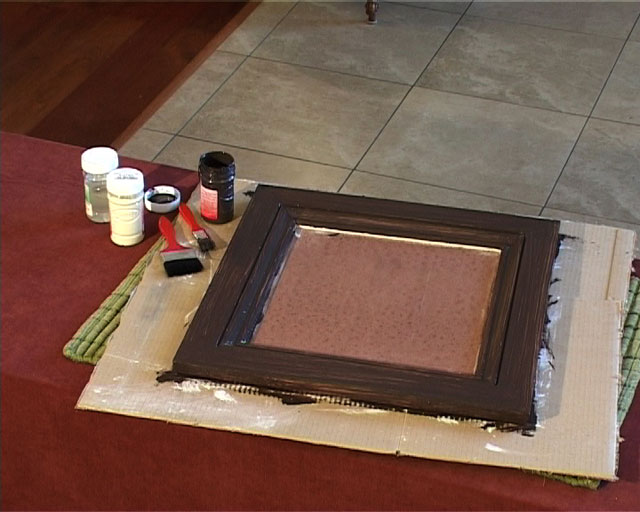
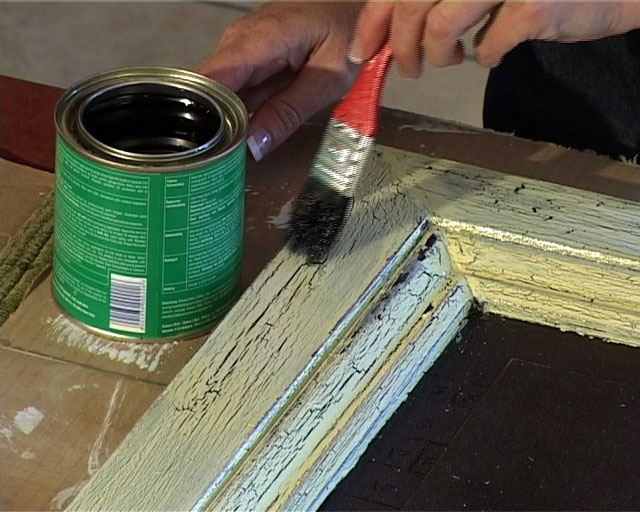
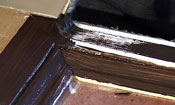
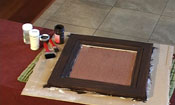
Paint the frame dark brown and let it dry.
|
|
|
| |
|
|
| Step 11 |
|
|
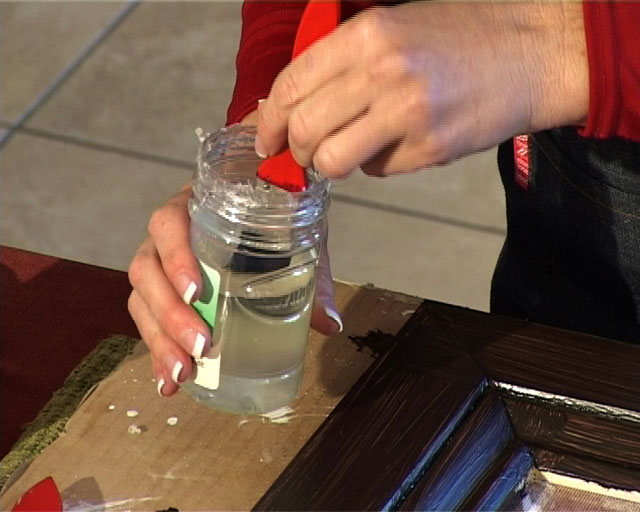
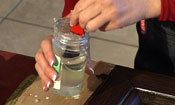
Apply one layer Kwik Crack and let it dry thoroughly (20 – 60 minutes).
|
|
|
| |
|
|
| Step 12 |
|
|
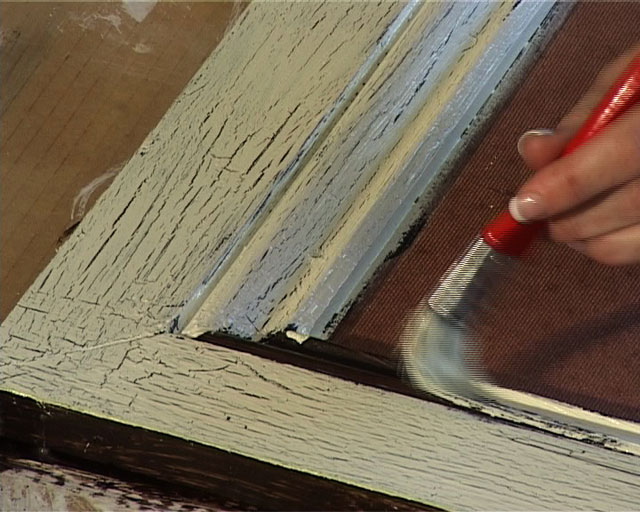
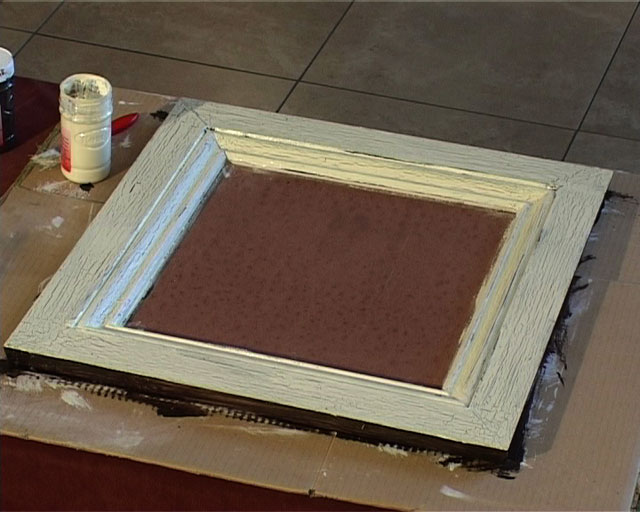
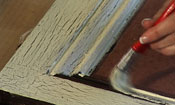
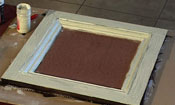
Apply one layer of cream-coloured paint and wait for the cracks to appear.
|
|
|
| |
|
|
| Step 13 |
|
|
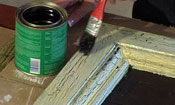
Cover the frame with a thin layer of varnish.
|
|
|
| |
|
|
| Step 14 |
|
|
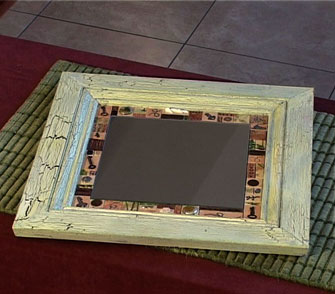
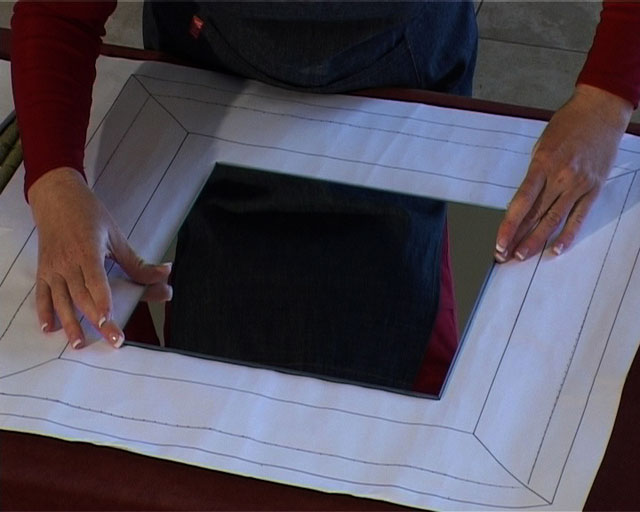
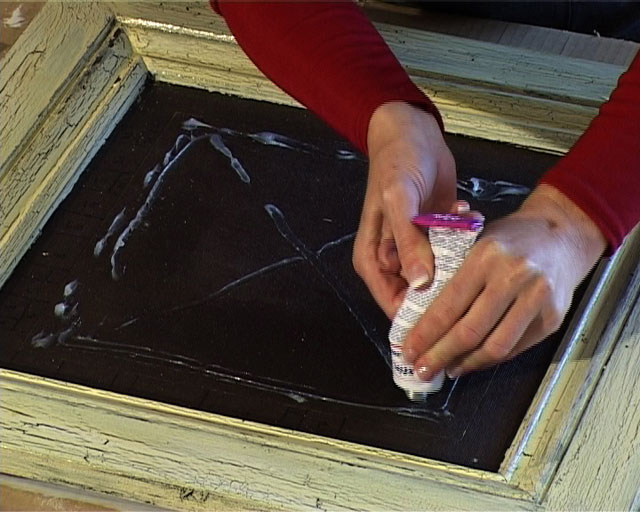
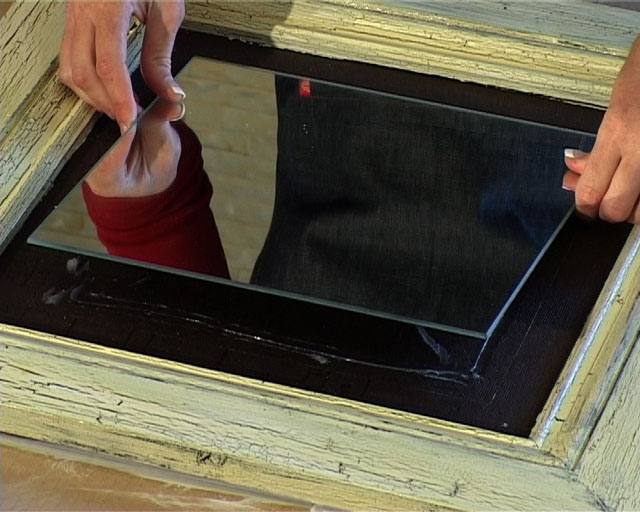
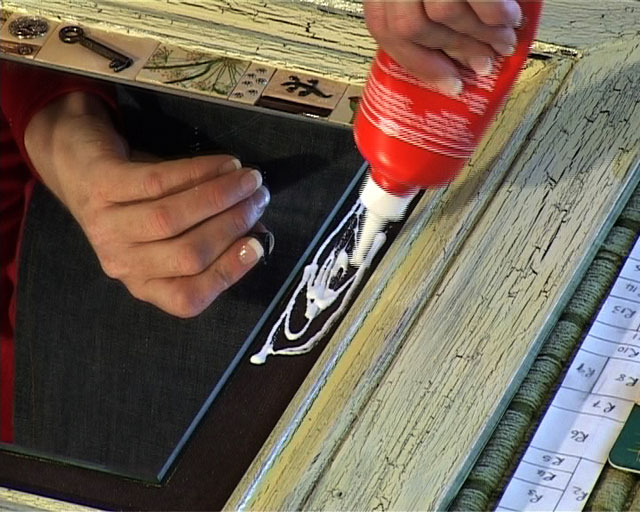
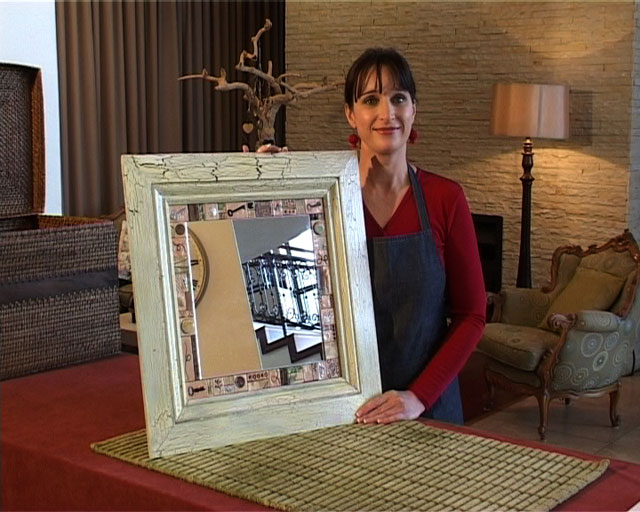
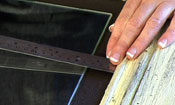
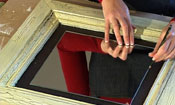
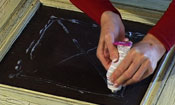
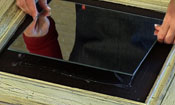
Glue the mirror exactly in the middle of the frame with the mirror glue. There will be a 4 cm-wide gap between the mirror and the frame. This will form the tile frame.
|
|
|
| |
|
|
| Step 15 |
|
|
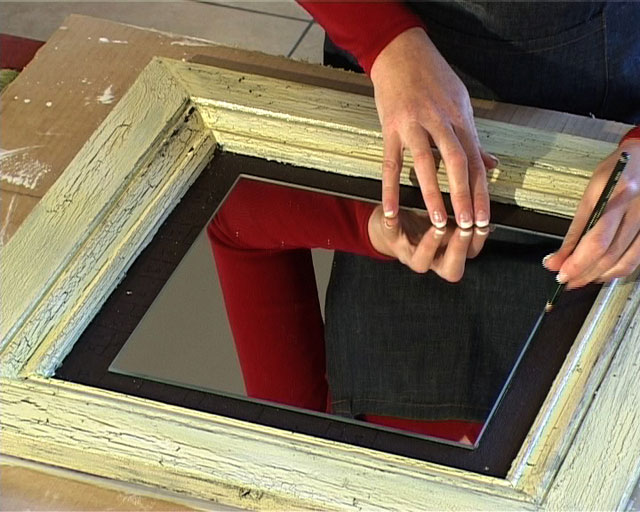
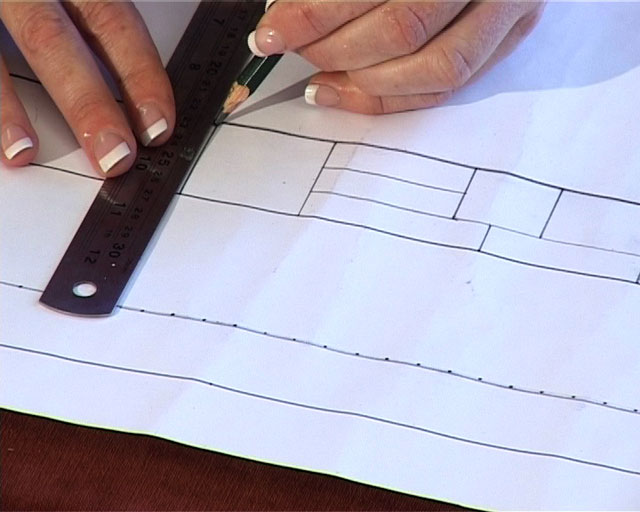
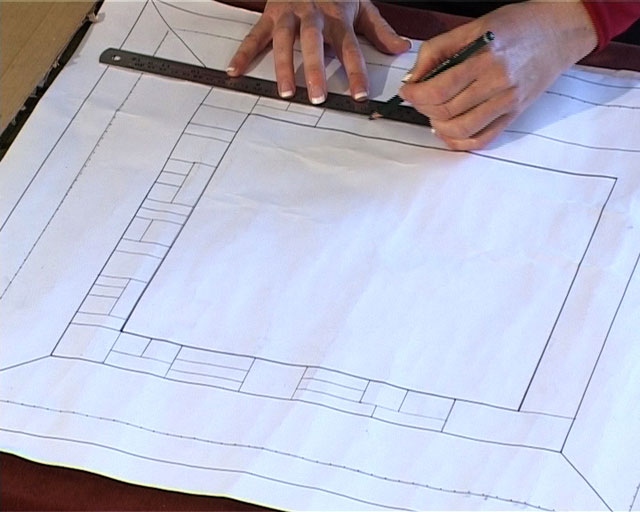
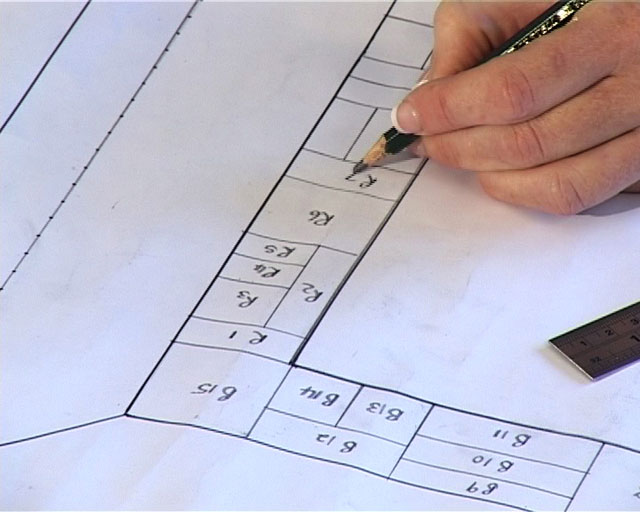
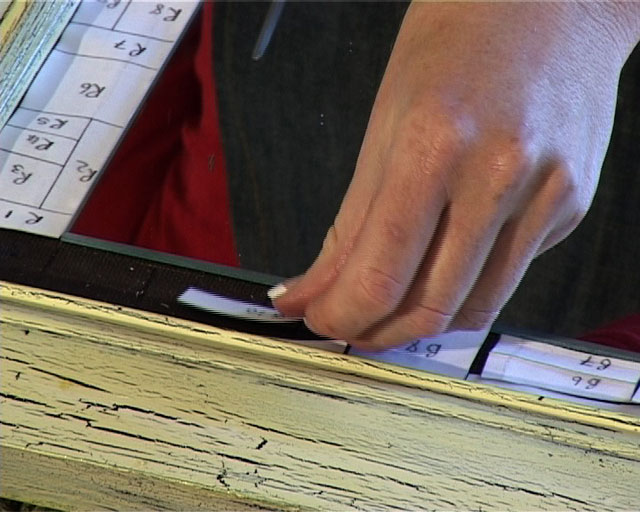
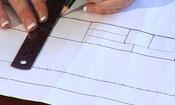
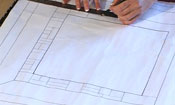
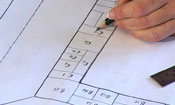
Sketch a pattern of the tile frame and divide the frame into tiles of different sizes. Number each tile according to its position.
|
|
|
| |
|
|
| Step 16 |
|
|
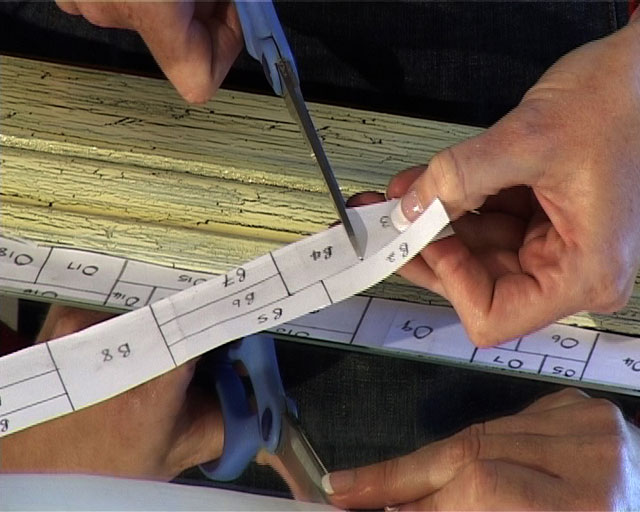
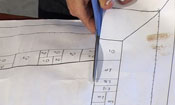
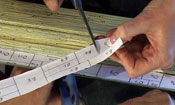
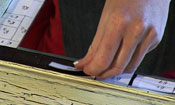
Make a copy of the pattern and cut out the tile patterns. The patterns will be used to determine the tile size which will be made out of the polymer clay.
|
|
|
| |
|
|
| Step 17 |
|
|
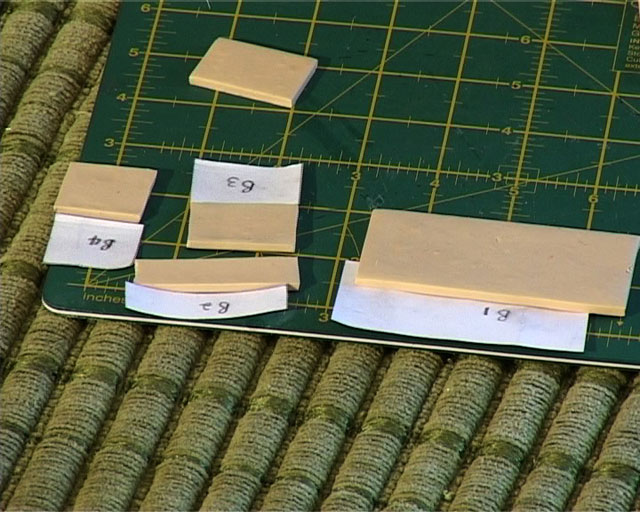
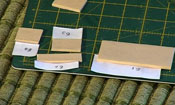
Bray the polymer clay till it is soft. Roll out the clay so that it is 1 mm thicker than the mirror. Cut the clay with a knife or craft knife in tile sizes according to the pattern.
|
|
|
| |
|
|
| Step 18 |
|
|
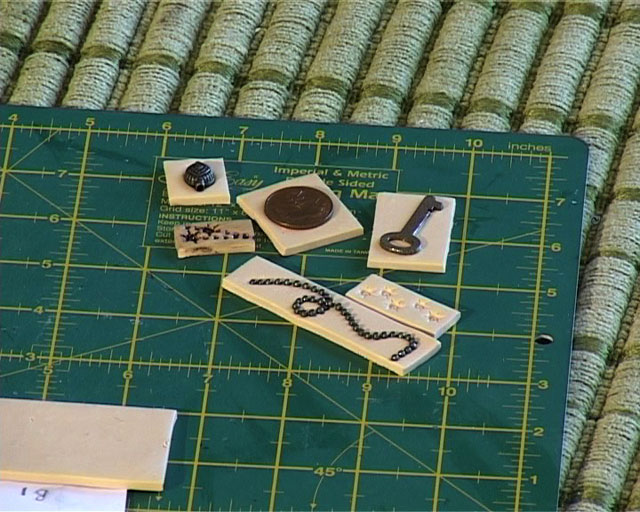
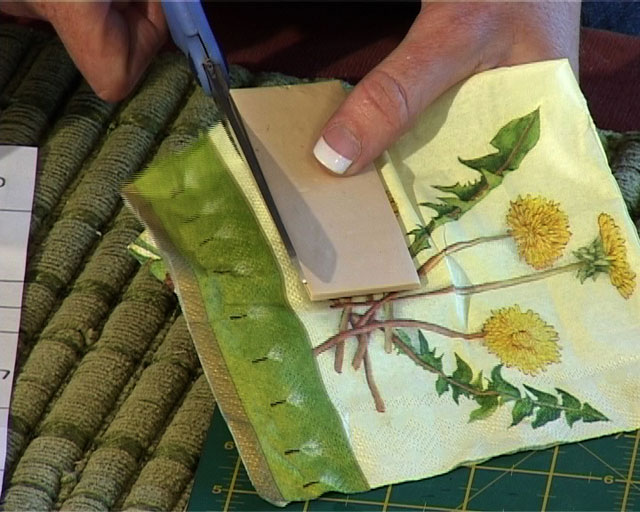
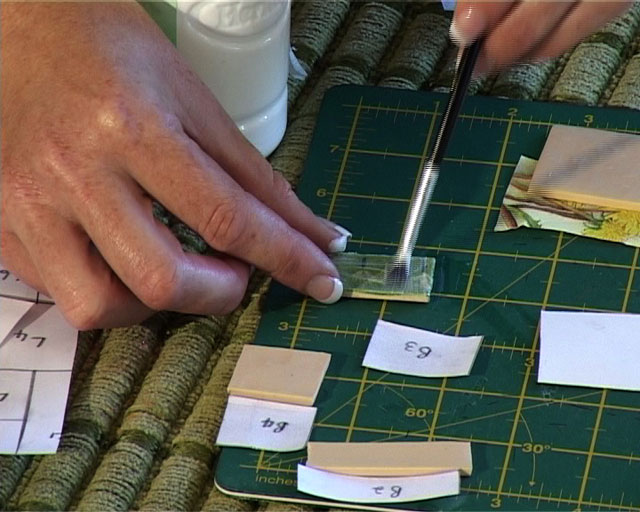
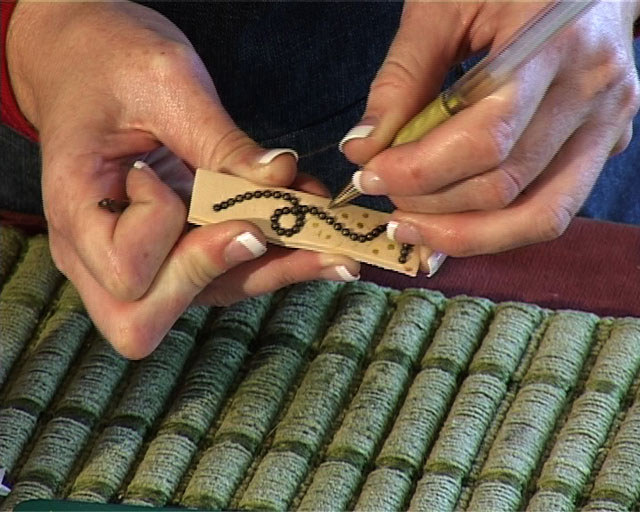
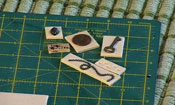
Press the metal pieces and decorations into the tiles. Decorate the tiles by making patterns in the tiles with interesting objects. Use the pattern pieces to ensure that the tiles are still in the right form and size. Leave a few tiles clean – they can be découpaged with serviettes for instance. |
|
|
| |
|
|
| Step 19 |
|
|
Bake the tiles in the oven according to the manufacturer's directions.
|
|
|
| |
|
|
| Step 20 |
|
|
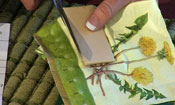
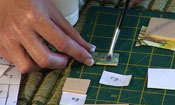
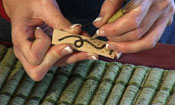
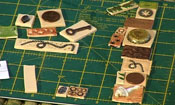
Paint some of the tiles with the bronze craft paint. Let the craft paint flow into some of the slits and wipe the surface clean. This will emphasise the pattern. Use a permanent marker to sketch some patterns unto tiles. |
|
|
| |
|
|
| Step 21 |
|
|
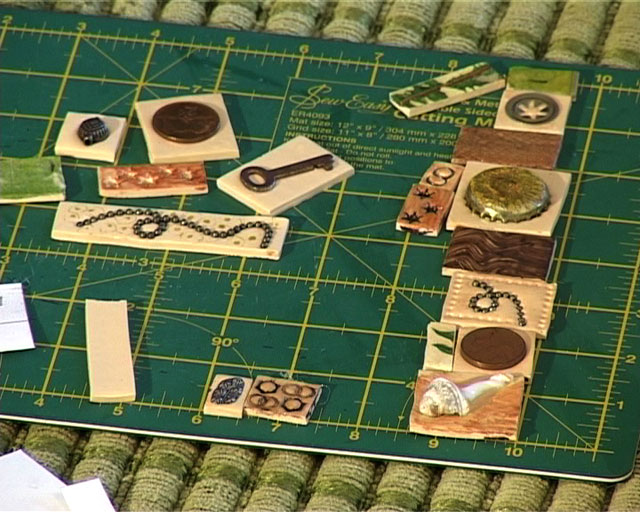
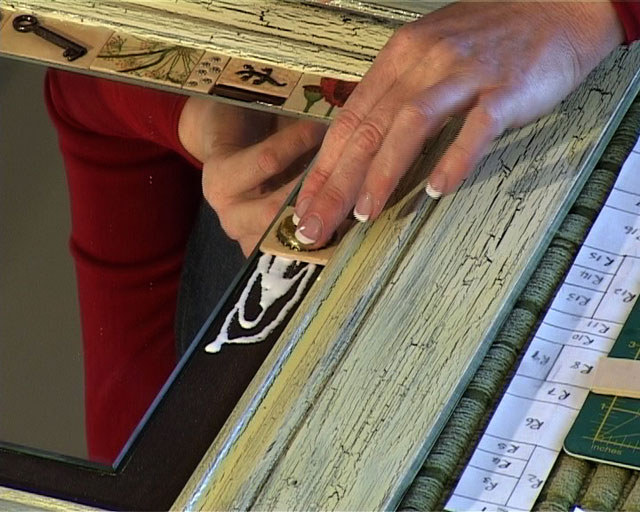
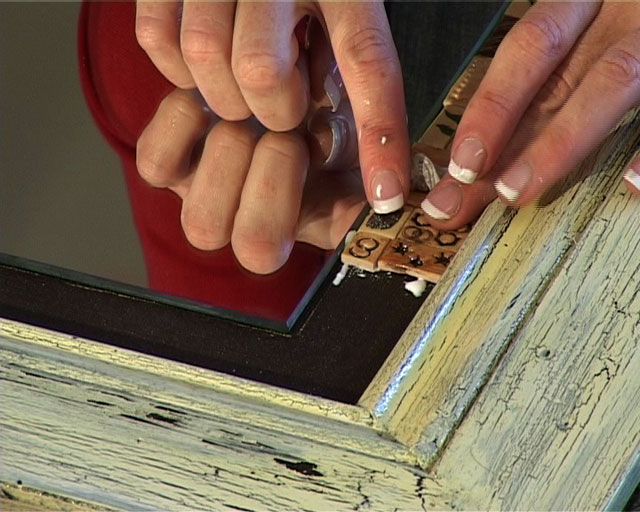
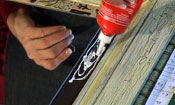
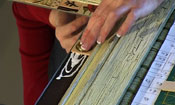
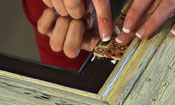
Arrange the tiles according to the pattern. The tiles can be carved with a sharp knife in case they do not fit. Glue everything into position and let the glue dry.
|
|
|
| |
|
|